|
Trim
was installed to dress up the aviary front. We used an
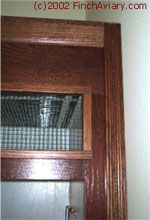
L-shaped trim to frame the ventilation panels. A standard
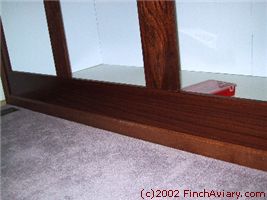
baseboard was installed along the bottom of the aviary.
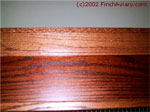
The same type of baseboard was mounted upside down to
the top of the aviary and a piece of decorative trim was
added above that. Along the side, some decorative mouldings
were mounted. Tom used a nail gun to attach the trim to
the aviary front.
|
|
A
nail gun was used to attach the trim. |
|
|
The
baseboard. |
|
|
The
trim along the top. |
|
|
Decorative
trim along the side
and L-shaped trim framing
the ventilation panels. |
Trim
was also mounted inside the aviary along the corners to
give the interior a finished look and to prevent aviary
debris from becoming lodged in any cracks. A flat, simple
piece of trim was used where the aviary walls met the
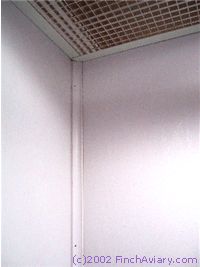
aviary front. A cove-shaped piece of trim was used in
the back two corners, where aviary wall met aviary wall.
These trim pieces were painted to match the aviary and
nailed to the 2x4 studs behind the aviary walls. Caulk
was used to seal the seam between the aviary walls and
the aviary floor.
|
|
Cove-shaped
trim along the back aviary corners.
|
|
|
Simple
flat trim along the front aviary corners. |
When
all the trim was installed, the aviary looked like this:
|


